
A WordPress migration should always include a page-by-page 301 redirect map before the new site goes live. Old URLs must point to their closest new matches, not just the homepage. Google says server-side redirects such as 301 redirects help send users and search engines to the new location of moved content. Without that work, a clean new website can still lose traffic, rankings, and sales.
TLDR: After a WordPress migration, the site owner should export all old URLs, match each one to a new URL, then add 301 redirects using a plugin, server file, hosting panel, or CDN rule. For example, if /services/web-design/ becomes /wordpress-design/, the old address should send visitors straight to the new page. In a common migration case, a site with 420 indexed URLs may find that 60 pages bring in 82% of organic traffic, so those URLs need checks first. A short redirect audit one week after launch can catch broken links before rankings slip.
Why Old URLs Matter After Migration
A WordPress website migration can change domains, hosting, page structure, permalink settings, category paths, or the CMS setup. Each change can break old addresses. Visitors may click saved links, email links, social posts, ads, or search results. If those links hit a 404 page, trust drops fast.
Search engines also need clear signals. A redirect tells them that a page has moved. It helps carry search value from the old URL to the new one. It also keeps users from landing on dead pages. Honestly, it feels like one of the least glamorous migration tasks, but skipping it creates the most annoying cleanup work later.
Step 1: Export the Old URL List
The team should collect every old URL before launch. This list becomes the redirect map. Good sources include:
- Google Search Console performance and indexed page reports
- Google Analytics landing page data
- XML sitemaps from the old site
- Crawling tools such as Screaming Frog or Sitebulb
- Backlink tools for URLs that other sites still link to
- WooCommerce product exports, if the site is a store
The list should include full URLs, status codes, traffic, backlinks, and the best matching new page. It drives people crazy when a migration team only redirects “main pages” and misses blog posts that still bring leads. The quiet pages often matter.
Step 2: Match Old URLs to New Destinations
Each old page should point to the most relevant new page. A service page should redirect to the matching service page. A product should redirect to the same product or its closest replacement. A deleted blog post should point to a related guide, not a random category.
Redirecting every old URL to the homepage is a weak fix. Users get confused. Search engines may treat those redirects as soft 404s. The rule is simple: match intent first.
A basic redirect map can use these columns:
- Old URL
- New URL
- Redirect type, usually 301
- Traffic level
- Backlink count
- Testing status
Step 3: Use the Right Redirect Type
Most WordPress migrations need 301 redirects. A 301 means the move is permanent. It is the standard choice for changed URLs, new domains, merged pages, and revised permalink structures.
A 302 redirect is temporary. It fits short tests, limited campaigns, or pages that will return. Using 302 redirects for a permanent migration can slow search engines from treating the new URL as the main page.
A 410 status can be used for content that is gone and has no replacement. This should be rare. If the page has traffic or links, a related redirect is usually better.
Step 4: Add Redirects in WordPress
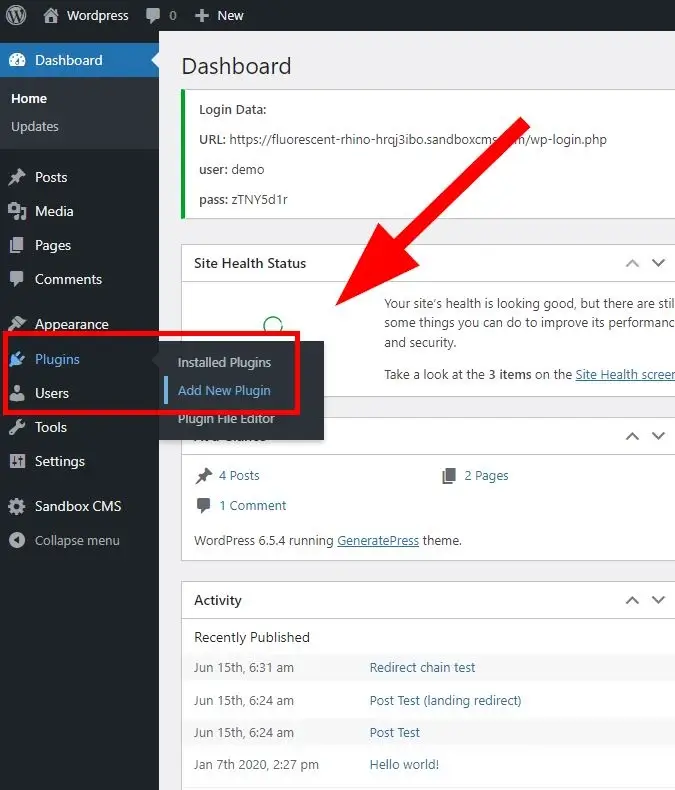
For many sites, the easiest method is a WordPress redirect plugin. Popular choices include Redirection, Rank Math, Yoast SEO Premium, and Safe Redirect Manager. These tools let the owner add old and new paths without editing server files.
Plugin redirects work well for small and medium sites. They are also easier for non-technical teams. Still, they can become messy when thousands of rules pile up. Expect to waste time on small interface delays if the plugin has to load huge redirect tables. A list of 8,000 rules can turn a simple edit into a 15-second wait.
For clean setup, the team should:
- Install the redirect plugin on the new WordPress site.
- Import the redirect map by CSV if supported.
- Use relative paths when the domain stays the same.
- Use full URLs when the domain changes.
- Test random samples before launch.
Step 5: Add Redirects at Server or Hosting Level
Server-level redirects are often faster. They can also reduce load on WordPress. The best method depends on the hosting stack.
- Apache: redirects can be placed in the .htaccess file.
- Nginx: redirects belong in the server configuration.
- Managed WordPress hosting: many hosts offer redirect tools in the hosting dashboard.
- Cloudflare or another CDN: page rules or bulk redirect tools can handle domain moves.
Server files should be handled with care. One missing character can break the site. A developer should back up the file first and test changes in batches.
Step 6: Avoid Common Redirect Mistakes
Bad redirects can hurt a migration almost as much as no redirects. The team should avoid these issues:
- Redirect chains: old URL A points to B, then B points to C. A should point straight to C.
- Redirect loops: a URL redirects back to itself or in a circle.
- Homepage dumping: too many unrelated pages redirect to the homepage.
- HTTP to HTTPS gaps: old insecure URLs need to resolve cleanly to the secure final URL.
- www and non-www conflicts: only one preferred version should remain.
- Case-sensitive errors: some servers treat uppercase and lowercase paths differently.
Step 7: Test Before and After Launch
Testing should happen before DNS is switched, if staging access allows it. After launch, testing becomes urgent. The team should crawl the old URL list and confirm that each old address returns a 301 and lands on the right live page.
Useful checks include:
- Status code: old URL should return 301, not 404 or 500.
- Final destination: the last URL should be the correct new page.
- Load speed: redirects should not add several extra hops.
- Analytics: organic landing pages should recover over the next few weeks.
- Search Console: 404 reports should shrink after fixes are applied.
Step 8: Monitor Results After Migration
A redirect plan is not finished on launch day. The site owner should monitor errors for at least 30 to 60 days. Large sites may need longer. Search Console, analytics, server logs, and crawl reports will show missed URLs.
Traffic may dip for a short time after a migration. That can be normal. A sharp drop across high-value pages is not normal. In that case, the redirect map, robots.txt file, canonical tags, and sitemap should be checked right away.
FAQ
What is the best redirect for a WordPress migration?
A 301 redirect is the best choice for permanent URL changes. It tells browsers and search engines that the content has moved for good.
Should every old URL be redirected?
Every valuable old URL should be redirected. Pages with traffic, backlinks, conversions, or strong search rankings need special care. Thin pages with no replacement may return a 410 status.
Can a plugin handle all redirects?
Yes, for many small and mid-sized WordPress sites. Larger sites often perform better with server-level or CDN-level redirects.
How long should redirects stay active?
Redirects should stay active for at least one year. Many teams keep them much longer, especially for pages with backlinks or steady referral traffic.
Why should old URLs not all redirect to the homepage?
Homepage redirects confuse users and weaken relevance. Each old URL should point to the closest matching new page whenever possible.